You mostly will first create a day scene from your architectural visualisations. But sometimes afterwards you need a night scene to set the focus on the impression in the evening or night. This often is imporant for buildings like a theatre, opera or even a stadium.
Therefore I will show you a quite easy method to tur a day scene to a night scene.
Basic image and approach in Photoshop
I start with this image.
I use the adjustment layer „Gradient Map“ to change the colors in the image because it is a quite easy method to turn the scene to night.
Adjustment layer „Gradient Map“ to turn day to night
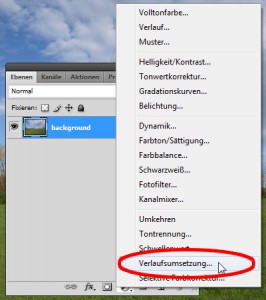
Next we create a new adjustment layer „Gradient Map“. Therefore click on the adjustment layer icon in the layer panel (black-white-circle) and select the adjustment layer „Gradient Map“.
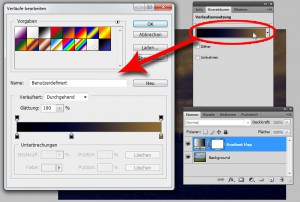
Now a new adjustment layer will be created and the gradient will be shown in the window „Adjustments“. Click on the gradient to get to the editing menue.
Create new color icons by clicking below the gradient, drag the color icons to edit the gradient and finally edit the colors itself by clicking on the color icons.
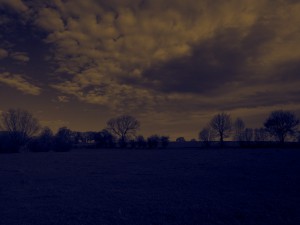
Simply test out some colors and different gradient types for your project. In my case I chose a dark blue to yellow color setting which will create the following effect:
Create a moon in Photoshop
By the help of this easy step you get a quite good looking basic atmosphere. In addition we create a new moon in Photoshop. Select the Elliptical Marquee Tool. Keep Shift pressed while using it to get an even circle. Next feather the selection (Cmd+ALT+D) and a value of e.g. 7px.
Create a new layer (Cmd+N), name it „Moon“, use the Paint Bucket Tool (Shortcut G) to fill it with white.
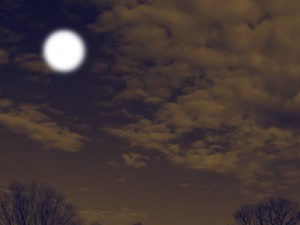
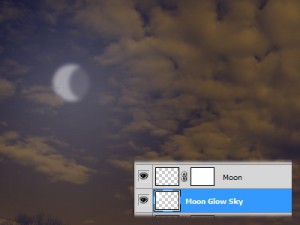
In my case I rather like a half-moon instead of a full moon. Therefore copy the active layer „Moon“ (Cmd+J) and select the content of the layer by clicking left on the layer icon of the layer „Moon“ by keeping Cmd pressed. Activate the Marquee Tool (M) and move the selection to the right and afterwards delete the selected area. You will not see the effect directly because the full moon layer is also visible. Consequently change the opacity of the full moon layer to 15% and of the half-moon layer to e.g. 40%. Afterwards merge both moon layer and add a mask to it to work out the clouds behind the moon. Now your moon looks like this:
In addition we need a glow around the created moon on a new layer. Therefore use the Gradient Tool, set the opacity of the new layer to 25% and name the layer „Moon Glow Sky“.
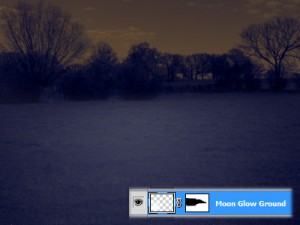
Finally we need the moonlight glow on the ground. Simply copy the layer „Moon Glow Sky“ and name it to „Moon Glow Ground“. Afterwards move the layer down to place the center of the glow just below the horizon. You can transform (Cmd+T) the glow until it looks good and change the opacity to 15%.
Now also the trees will be lighten by the moon, although the trees are in front of the moon. Therefore I use a mask with a blurry brush to delete the glow in front of the trees.
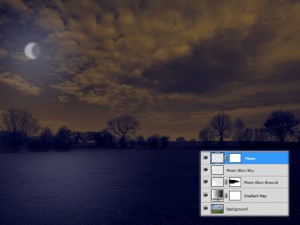
Result day to night change in Photoshop
My final photoshop file is based on following layers and looks like this:
If you compare before and after the result is quite ok with regards to the easy approach.
You can download my Photoshop file with a resolution of 1200px x 900 px to make it more easy for you to go though the steps of this tutorial.
Photoshop-Tutorial-day-to-night.ZIP
If you like the tutorial of download please recommend this site or link us.
P.S. The file can be used for private AND commercial projects. But please note that you are not allowed to share or distribute the files. If you like to share the textures please recommend us to your friends or link to us. Thank you!





Ahaa, yang bagus dialog pada topik ini pos
di tempat ini di ini blog , saya telah membaca semua itu, jadi saat ini saya juga mengomentari
di tempat ini.