In this post we want to show you some tips what you should consider when you want to add people to your architectural rendering in Photoshop.
Why it’s important to add people to architecture visualization
It’s important to add people to architecture visualization for a few different reasons. First, adding people to a building or space can help to give it a more realistic feel. Second, adding people can help to create a sense of scale and perspective. Including people in your rendering can even help to tell a story and give the viewer a sense of what it would be like to actually experience the space. For example, if you’re rendering a hotel lobby, adding people who are relaxing in the seating area can help convey a sense of luxury and relaxation. On the other hand, if you’re rendering a busy office space, adding people working at their desks can help convey a sense of productivity and efficiency. Whatever story you’re trying to tell with your rendering, adding people can help to bring it to life and make it more relatable and believable for the viewer.
Tips for Adding People in Photoshop
1. Realistic or Abstract Architecture Entourage?
First of all you have to decide if you prefer to use more realistic images or rather abstract entourage. There are endless options to create a rather abstract look of people used in architecture renderings. Therse are often times prefered because they do not draw too much attention and rather support your compositing in a subtile way. Here are some commonly used styles:

- Photo-realistic cutout stock images
- Motion blur filter
- Sketch Filter / Stamp
- Artistic Filter / Cutout
- Silouette
- Hand drawn
- Abstract hand sketch
If you like the abstract look for your renderings you might check out our “Architecture People Collection” here:
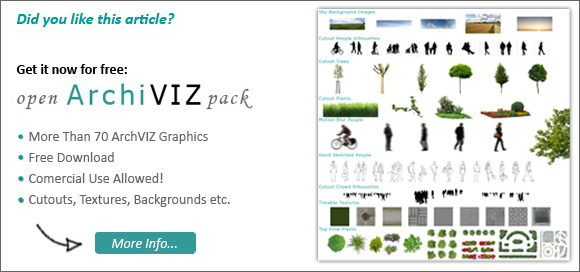
If you are looking for some free architecture entourage definitely grab our free “Open ArchVIZ pack” here:
2. Where to Place the Architecture People?
Please do not just randomly place the people in your scene. Consider following guidelines:
- Look for negative space in your scene
- Find areas where people can bring some depth to the space
- Think about considering the “rule of third” or “golden cut” when placing your entourage
Arqui9 showed these principles quite well in their tutorial:
3. Match the Style and Atmosphere of Your Rendering
First of all make sure to pick stock photos of persons who match with your overall concept. This will include:
- Clothing and style
- Cultural background
- Weather conditions
- Lightning conditions of stock photos
The more your stock images fit to your scene the better. But you obviously can and often time must tweak it. So make sure to match the look of your stock images with your scenes by useing following common techniques:
- Adjust color, brightness and saturation (CTRL+U)
- Play around with transparency and blend modes of the layer you placed the people on
- Try “Adjustments > Match Color”
4. Align the Heads With the Horizon Line
As a rule of thumb the heads of the people should be aligned with the horizon line. Simply add a new guide to your drawing or create an extra layer and draw a horizontal guide line it. Try to align the heads of the persons to this guide. The distance of the persons feet will define the perspective distance in the image. Henry Goa shows this quite illustratively in his video:
Watch the full video where he describes the principle of the horizon line at 04:13:
Hope some of these tips how to add people to your architectureal renderings help you out next time!


Leave a Reply