
Especially for interior architectural visualizations you need high quality textures for furniture. A stylish designer couch will pimp every interior scene and can be found in nearly every rendering.
To give your rendering the final touch you need a high quality leather texture. This tutorial will show you how to create a realistic leather texture in Photoshop:
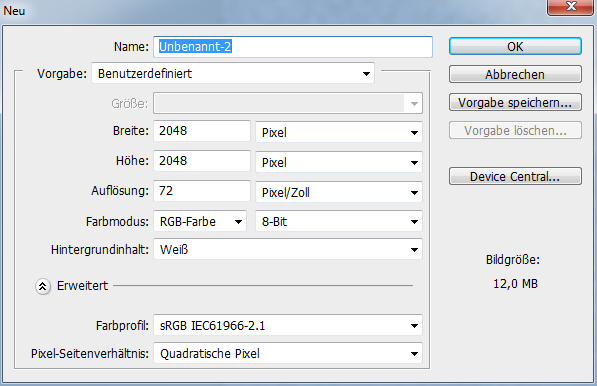
Step 1: Image Size
I prefere a size of 2048 px x 2048 px if I create a new texture image, but the image size depends on your needs. Start with Cmd+N to create a new document and enter the size you chose.
Step 2: Stained Glass Filter
Now we select black as foreground colour and white as background color (Cmd+D). Now activate Filter/Stained Glass Filter with following settings:
- Cell Size: 10
- Border Thickness: 3
- Light Intensity: 3
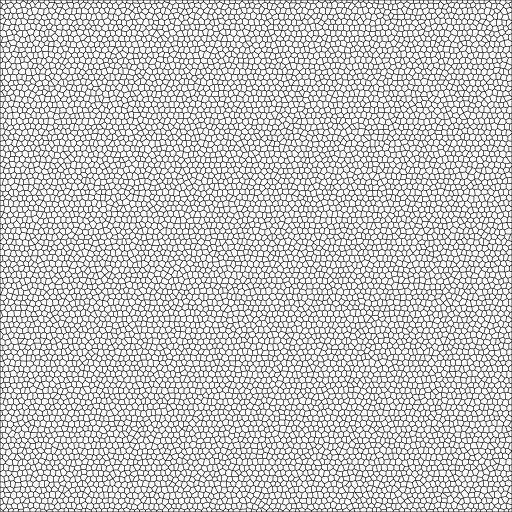
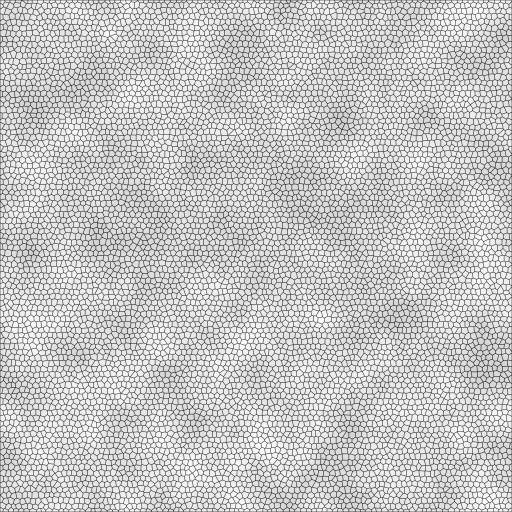
Step 3: Adding more structure
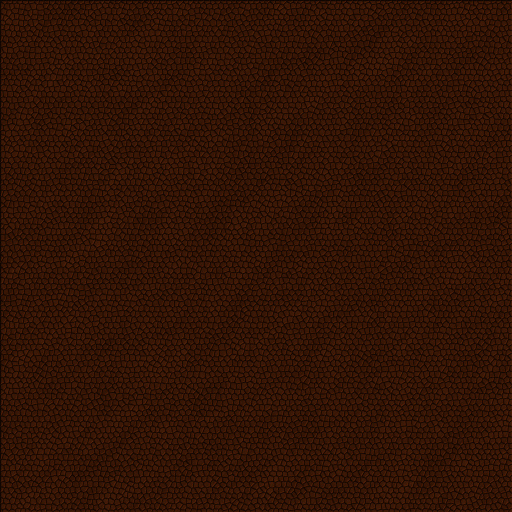
Now you have the the main structure of a leather texture. Afterwards I create an additional new layer, fill it with white color, select black as foreground color and choose the cloud filter (Filter/Rendering-Filter/Clouds)
Next set the layer opacity to 20% and merge the layer with Cmd+E. Now it looks nearly like this:
Step 4: Add structure with filter lightning effects
The result will be used in combination with the filter lightning effects. Select the complete area (Cmd+A) and copy it to clipboard (Cmd+C).
Now go to the channel panel and paste it via Cmd+V to a new channel and afterwards click on a the RGB channel and go back to your layer panel. Create a new layer and fill it with a brown color of your choice. Next go to Filter/Rendering Filter/Lighning Effects and select at the buttom Emboss Channel the new created “Alpha 01” channel.
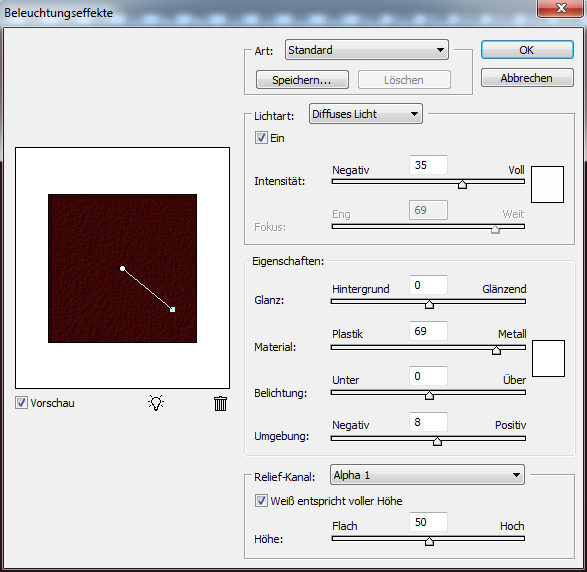
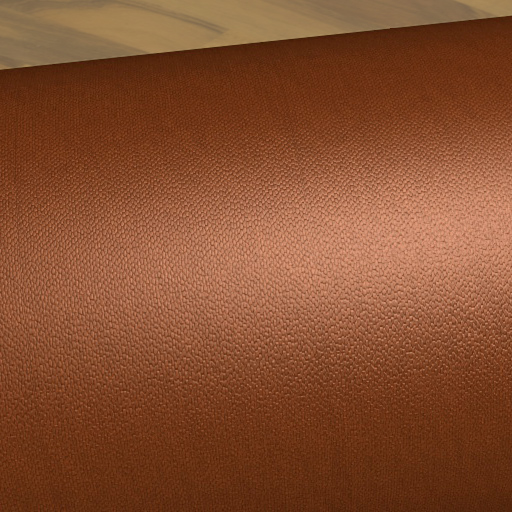
It is important to set the light type to Omni. Now drag the edges of the light symbol and play around until the effect looks good. You can also add an additional light source by dragging a light icon into the preview. Click OK and the result should look like this:
The result looks quite good. If you want to you can add a new layer, fill it with the same brown and set the opacity to nearly 40% to reduce the grain a little bit.
Please note that the created leather texture has a dark border due to the filter Lightning Effects:
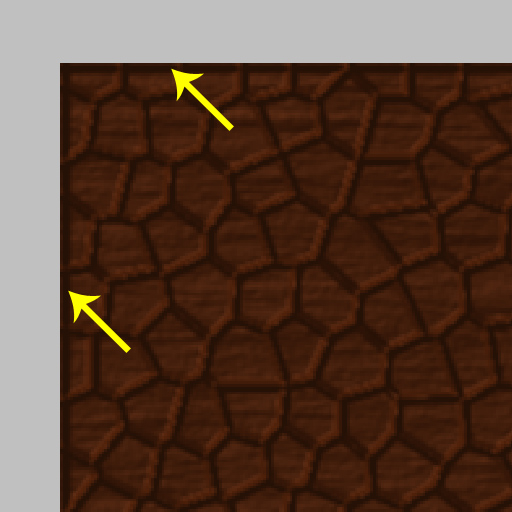
This problem can be solved by making the texture seamlessly tileable. How to create a seamlessly tileable texture is explained in another tutorial. If you need a pattern free texture – just read this special tutorial.
I think this example shows the power of Photoshop if you want to create realistic textures even without any basic photo material. By the way, you can also use the Fibre Rilter the way we used the Clouds filter to add some more additional structure. Just play around and you will find endless interesting methods for your special needs.
Drop me a line with your comments, experiences and hints for this tutorial. Thank you!
If you like our textures you must check out our texture collections e.g. the “GroundCollection” or “Stone+WallCollection” with each 111 seamlessly tileable high resolution textures in our shop!

Great tutorial. Good work! Thanks very much…
You say “Filter/Rendering Filter/Lighning Effects” but I don’t have a Rendering Filter option in Filter menu…. Can you be more specific?
Hi Sage,
thank you for your comment. Please check out if find it at “Filter/Rendering/Lightning Effects”. Can you find it? Please let me know. thank you