
SketchUp is a really great tool for architects and quite popular! Therefore we want to present you here some plugins that are helpful especially for architecture modeling and rendering with SketchUp to speed up your workflow and enhance your visualization quality at the same time!
This is the second article on SketchUp plugins for architects. Make sure to check out also the first part here:
Best SketchUp Plugins for Architects – Part I
Now it’s time for learning about some of the best rendering engines for SketchUp, as well as some advanced tools for enhancing your workflow.
Soap Skin & Bubble plugin for tensile structures in SketchUp
This plugin is for creating tensile structures from edges. Also you can use it for creating organic architecture. It is quite simple to use but with amazing results.
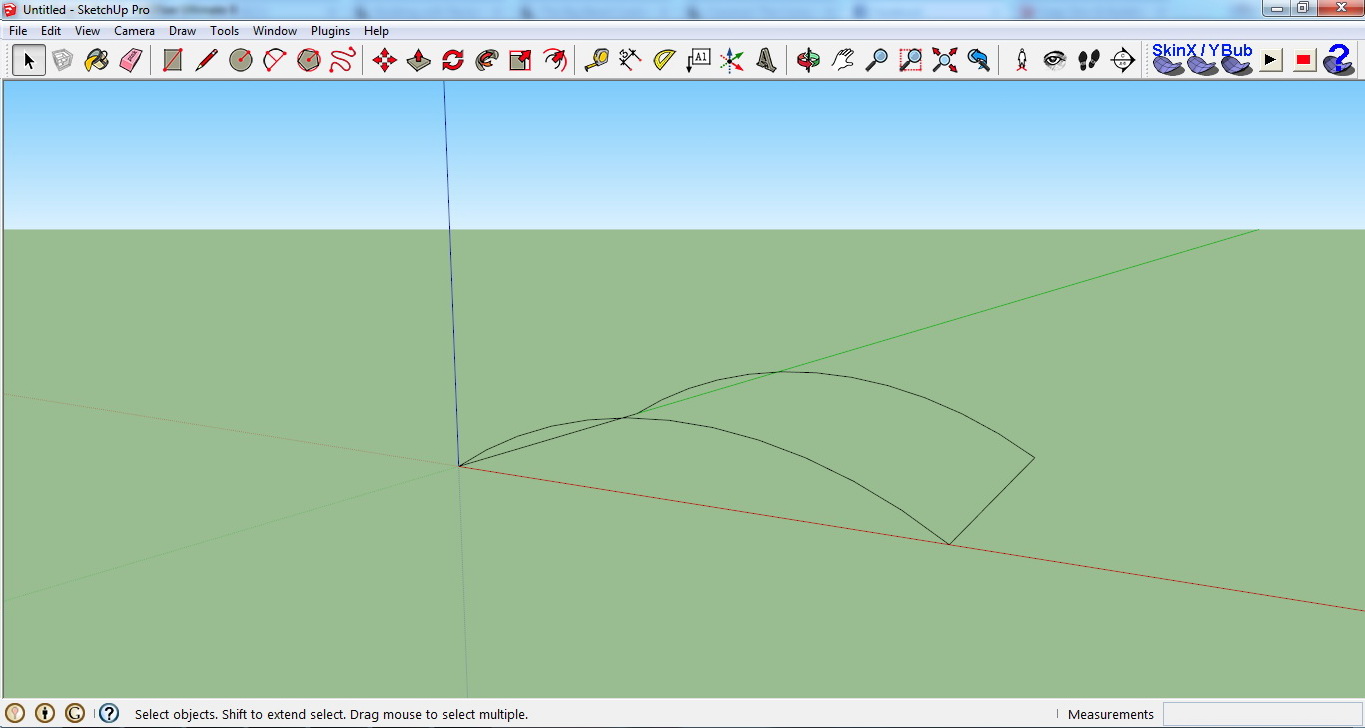
First start by creating a 3d object. It is best if you use curved extrusions over extruded rectangles.
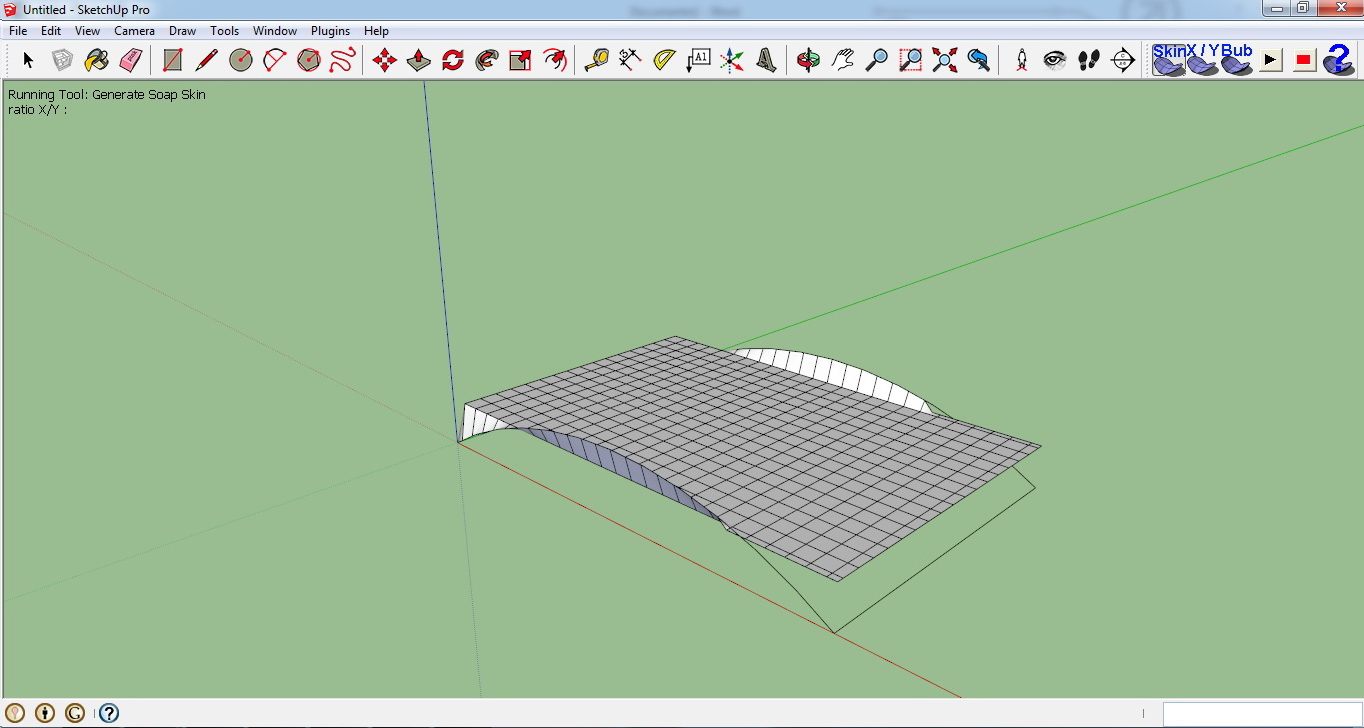
Then we delete everything but the 2 curved edges and the edges connecting them, just as in the image below:
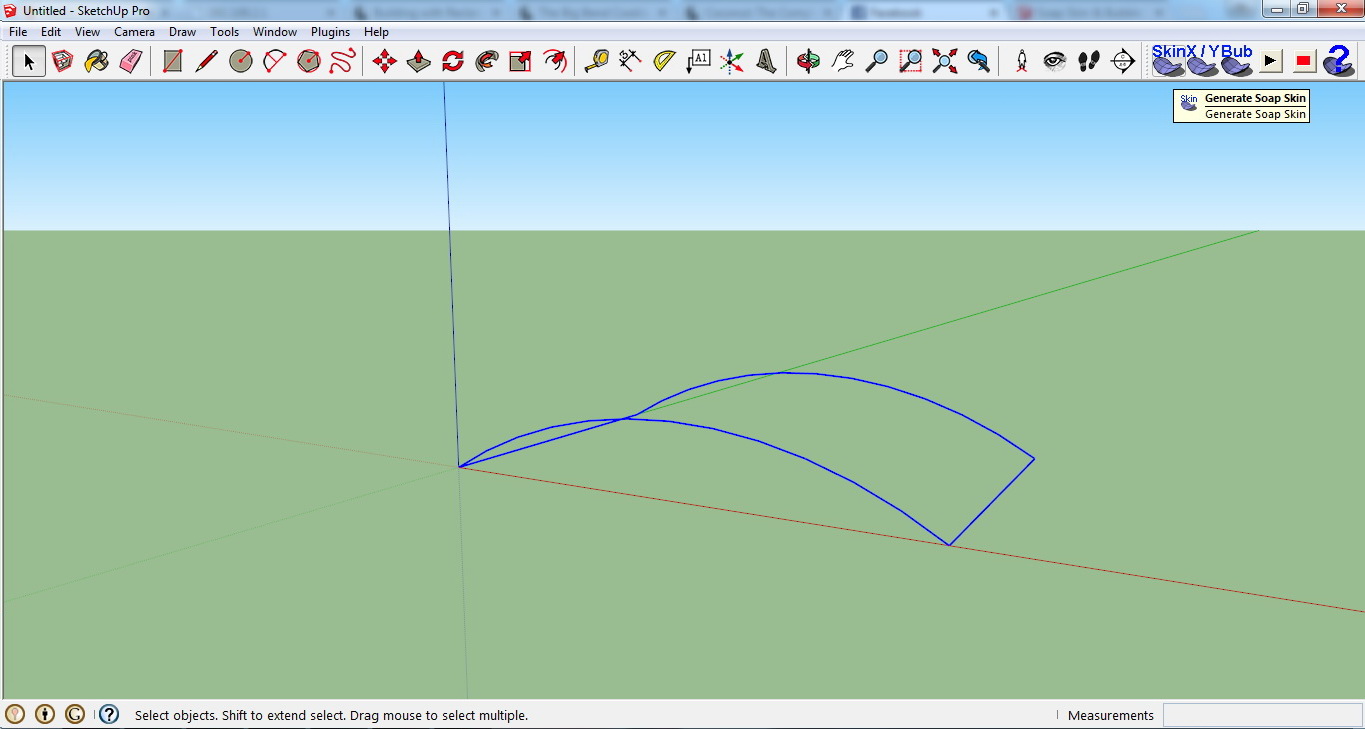
We select every edge and click at Generate Soap Skin
The plugin will ask us how many divisions we want. The more divisions, the more precise the organic shape will be. In this case I chose 25, from a range starting at 10 and ending at 30.
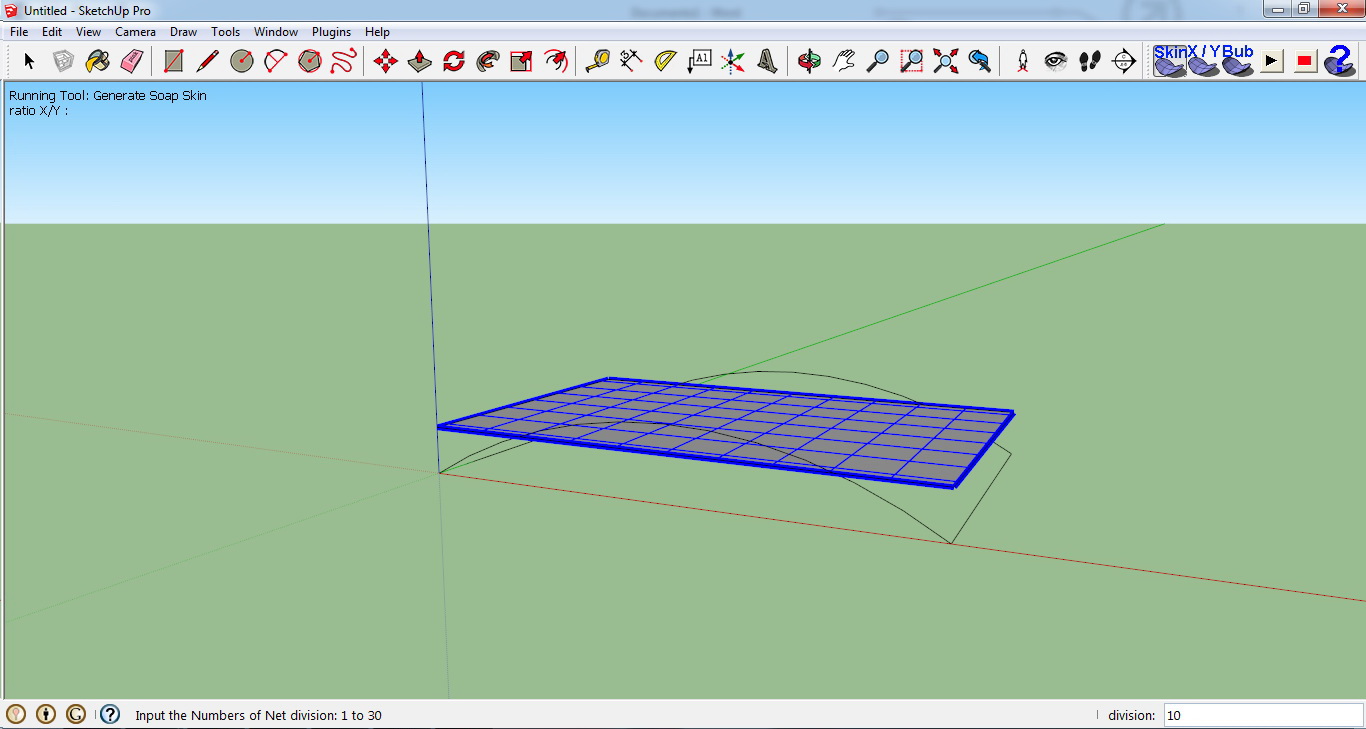

After that, hit enter again and the plugin will start generating the shape. It is sort of a rendering, but will considerable less time for achieving results
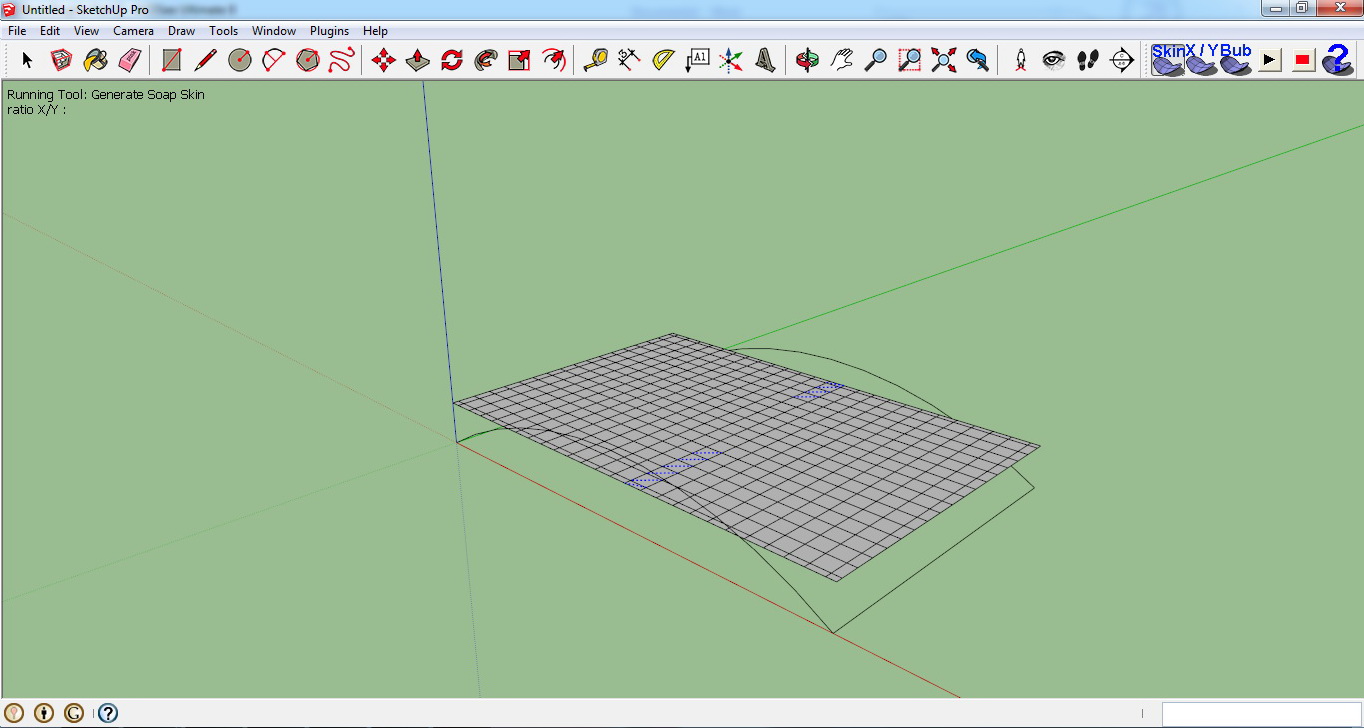
And this is the result
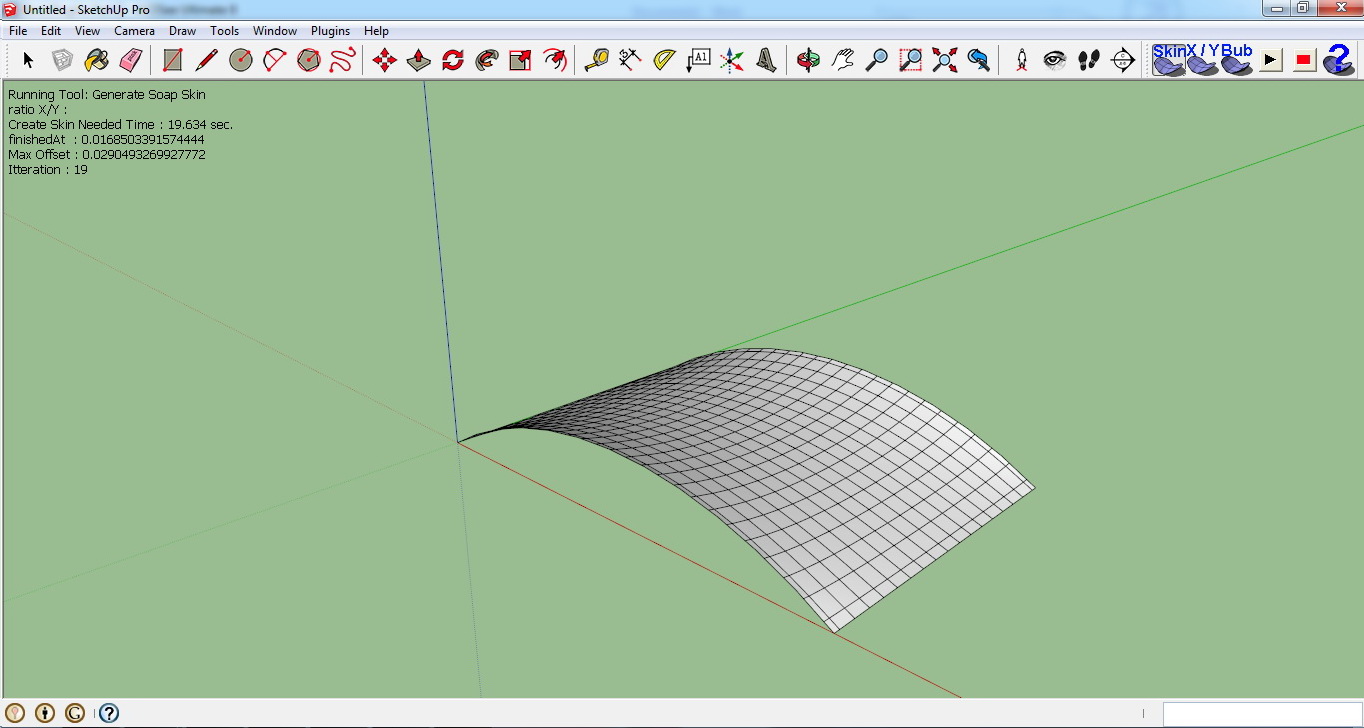
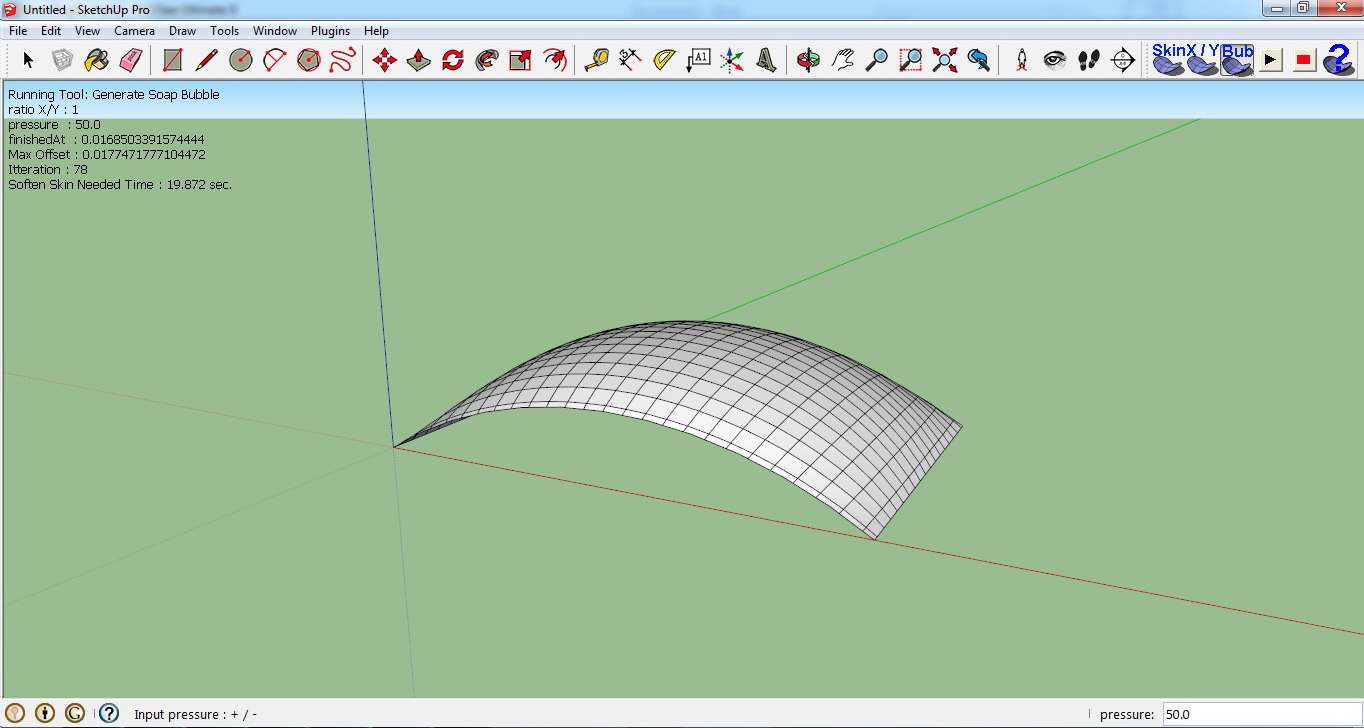
Quite impressive, right? But it’s not finished yet. If we want to apply pressure to this structure, we can do it by clicking the group and then choosing Generate SoapBubble.
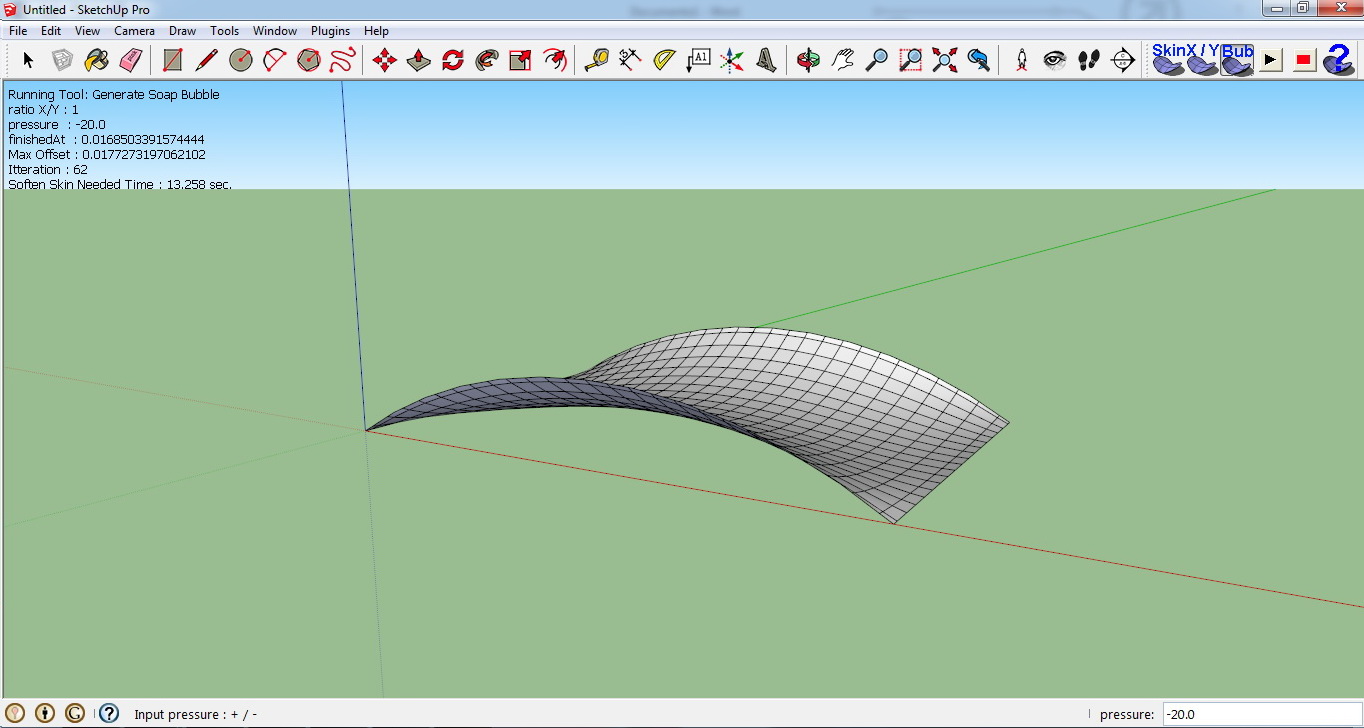
The command will ask us how much pressure we want to apply and in which direction. As always, positive values for inflating the shape, negative values for depressing it.
How to use Vray in SketchUp?
For me, my favourite rendering engine. It has a learning curve that may be complex for new users, but several changes in Vray for SketchUp on its 2.0 version made easier for beginners to start working with this marvellous tool.
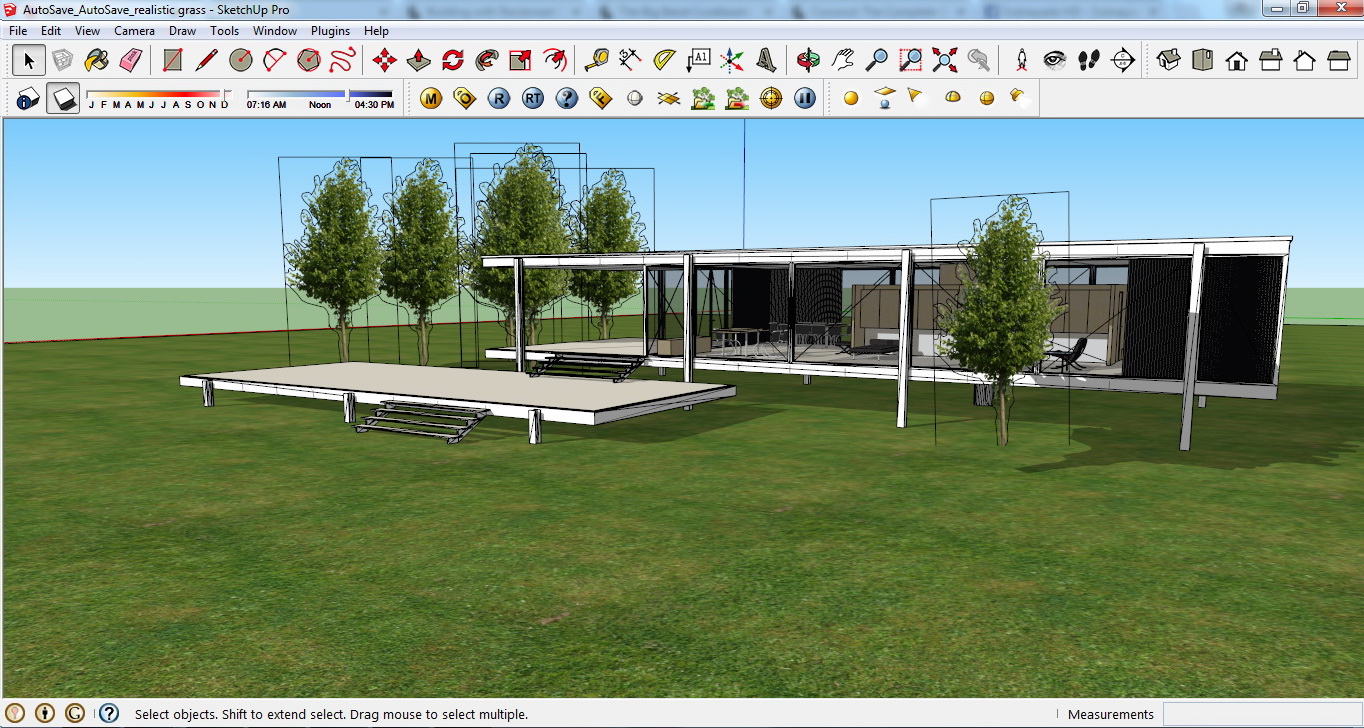
Vray has plenty tools on its own. From a material editor to lighting tools, as well as proxy-creation tools.
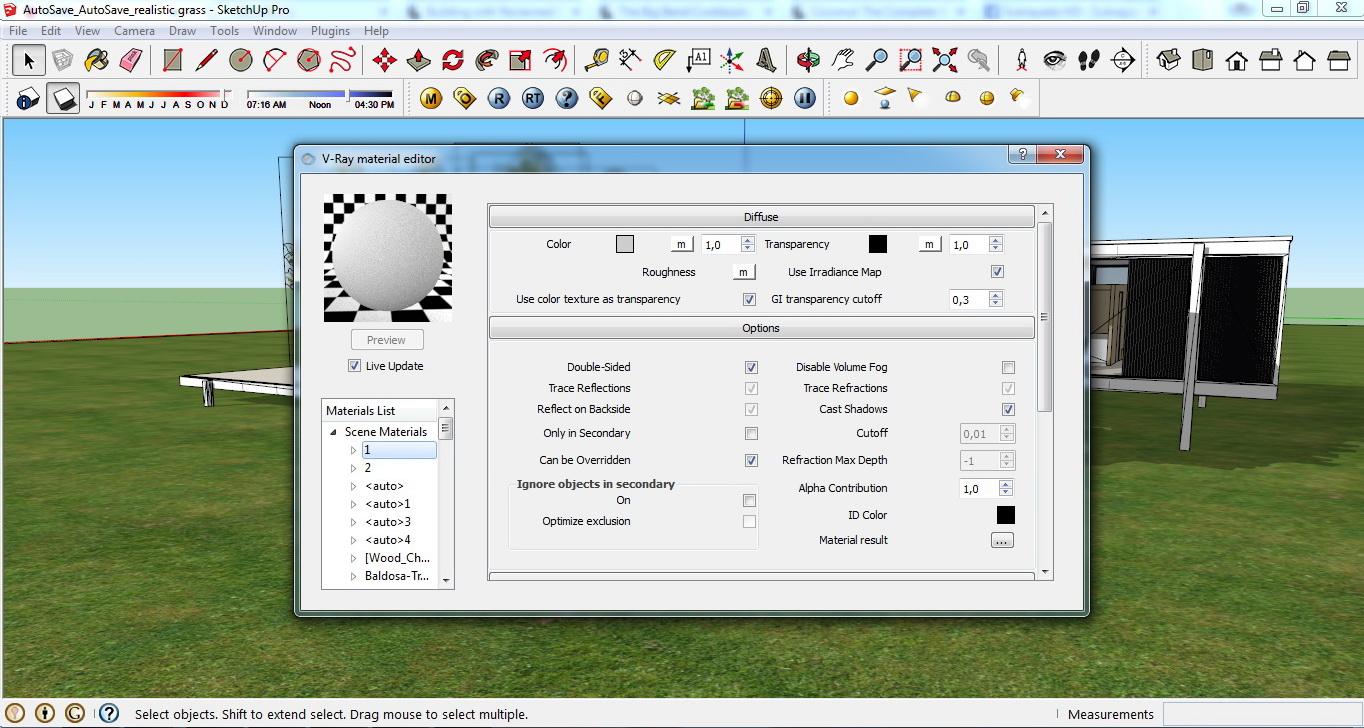
As you can see, material editor is quite different than SketchUp native material editor. It has more complex parameters such as reflections and refractions, as well as different kind of maps for creating effects (such as Noise, Cellular, etc) or for illumination conditions (VrayLight, VrayHDRI).
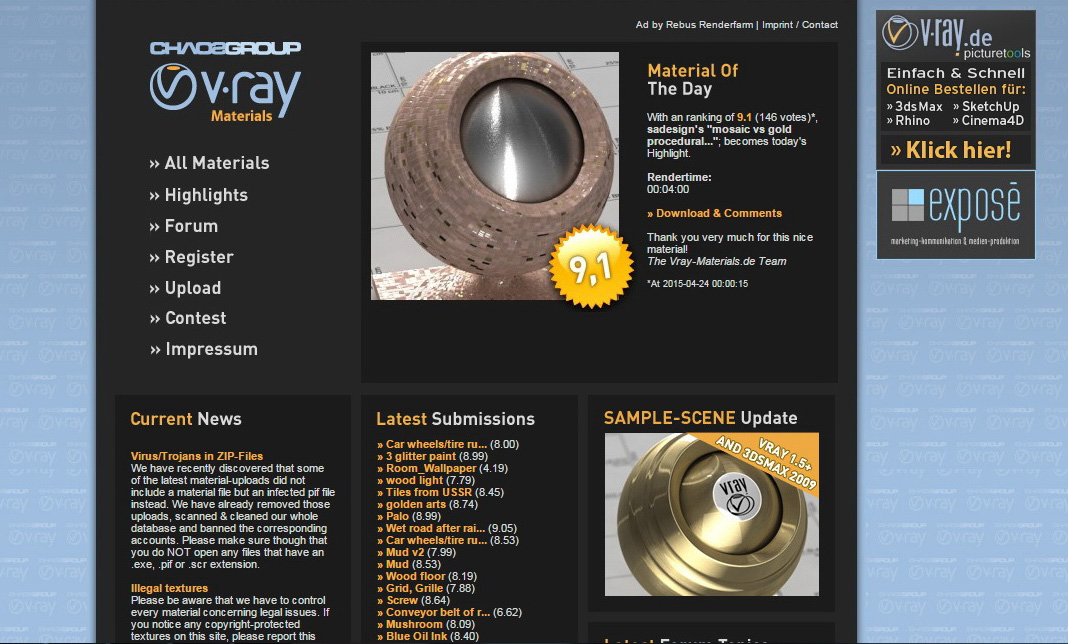
Vray Architecture Materials
One advantage is that we can download vray materials from most of the sites around the web. One of my personal favourites is www.vray-materials.de as it has quite the library for almost every kind of scene you may want to create.

The options panel contains every setting needed for Vray to work properly. For advanced users, setting up the parameters is vital for getting photorealistic results, but beginners may get confused when first looking at this. Maybe because of that, or just for accelerating results, this version of Vray has already loaded a group of Presets for almost every occasion.
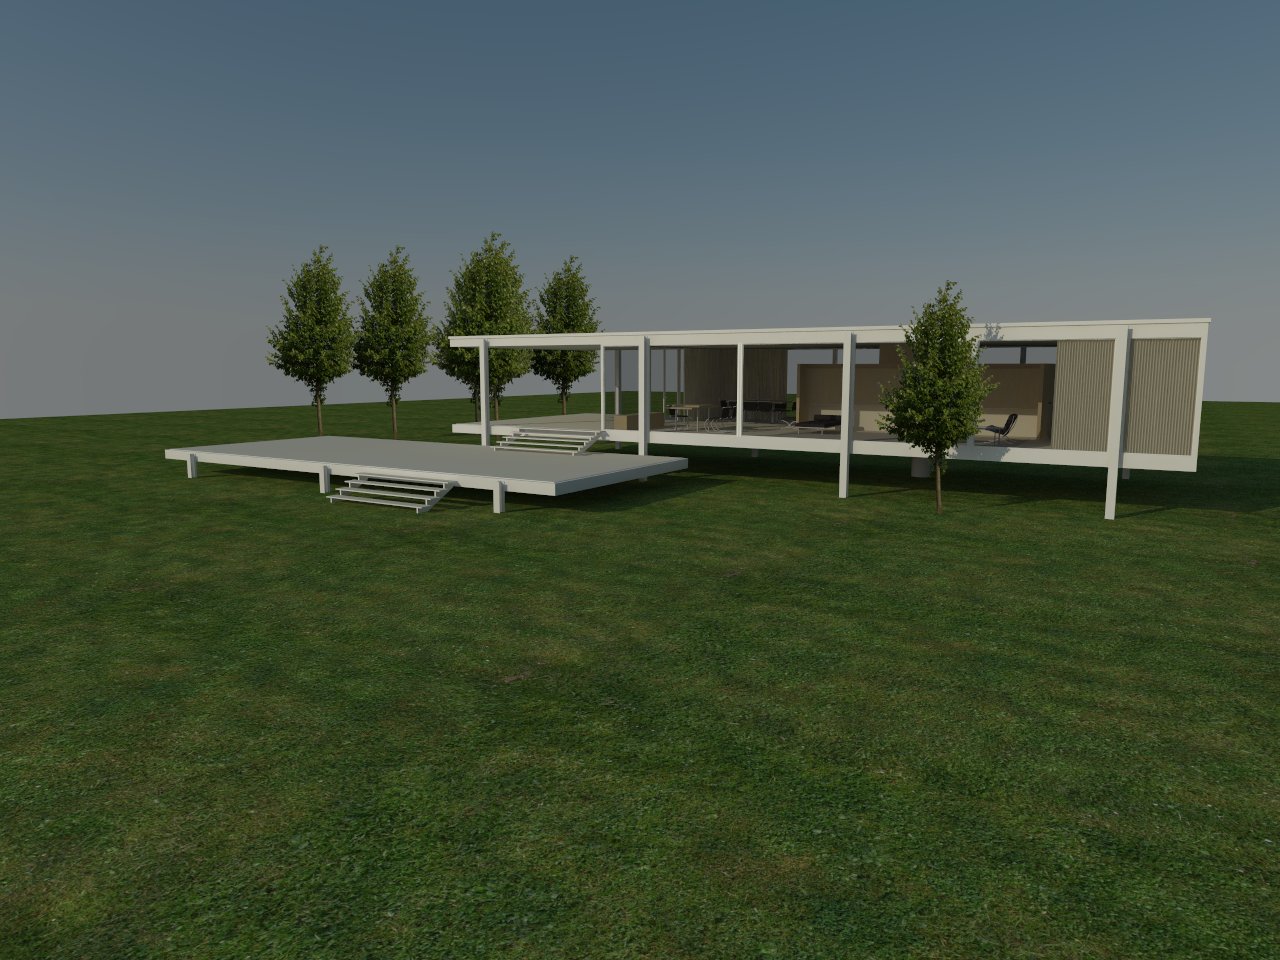
Rendering Architecture Exterior Scenes with different lightning settings
The presets are quite good in my opinion. First you select the kind of scene you want to work with (if it is Interior or Exterior Scene, or a Camera preset with tinting options loaded) and then the quality of the rendering itself, but this applies only to Interior/Exterior presets.
Just changing from preset options you can give your scene a completely different “feel”

Also there is an option for making proxies. Extremely useful when working with several identical objects, such as vegetation, cars, benches, etc.
Shaderlight – Easy SketchUp Rendering Plugin
This is another great render engine, easier to use than Vray, and with plenty options for creating interesting stuff.
As you can see, the options are quite few. Just setting the size, the quality, kind of scene, lighting type and the background for the render.

You can render with a good quality with the default values. Of course don’t expect a Vray photorealistic quality, there are different kind of rendering engines as you don’t have as much control in the overall results than what you have in Vray. But for most uses, and when you want to do a fast render, Shaderlight is really powerful.

But in my opinion, one of the most useful tools of Shaderlights is the capacity of creating chalk renderings/animations. The option shows at the Lighting rollout, where you select Chalk Render. Its effect reminds me of Ambient Occlusion in Vray, but with only one parameter: Shadow Range.
After selecting Chalk Render, the Shadow Range option comes available. The higher the value, the most noticeable the contrast will be and the darker look of the render. For example, if you use a value of 1 for Shadow Range, the scene will look burned while rendering, because of too much white light on it. Of course the value you want to give to the Shadow Range will depend of your scene: geometry placed into the scene and background.

It renders much faster than normal-looking renders, and are quite good looking for presentations, as well as for abstract schemes.
Shaderlight light placing tools are quite simple to use: just select the kind of light and click at the place you want light fixtures to be.
Also Shaderlight has an option for Cloud Rendering, which I haven’t tested so I can’t give you any reference on that; but Shaderlight Youtube channel is a good place for start looking if you are interested, as they have many tutorials.
Some general considerations on using plugins
As you may know, there are many plugins around the market. Of course this selection is only according to my opinion and experience of working with them, but you may find some other tools that are useful.
One of the most important things to take into notice before getting plugins is, besides the price, the “power” of your computer. For example, if you have an older build, you may then want to use Shaderlight instead of Vray, as it demands less resources from your computer.
Also take in consideration that plugins that contain many tools, such as 1001bit, even they are really useful and can replace many plugins with only one tool, take time to load. And you will notice that delay when opening SketchUp, as the plugins load all at once, and many of them check licence status before even loading.

Leave a Reply