Photos of surfaces and structures are often used in architectural visualization projects. But before you can use them you have to make them seamlessly tileable to avoid the pattern effect.
There are several ways to make textures seamlessly tileable. There are some specialized tools out there but I learned by experience that the best way is still the hard way: Create them manually in Photoshop especially if you want to a high quality texture which can also be used in future projects. But if you already find a good tool which helps you to create your textures, drop me a line in the comment box.
Step 1: Find the perfect basic foto for your texture
First of all it is very important to choose a suitable basic photo. Make sure that the photo covers a large area of the object to avoid the pattern effect in the rendering. Therefore you need a adequate distance to the object.
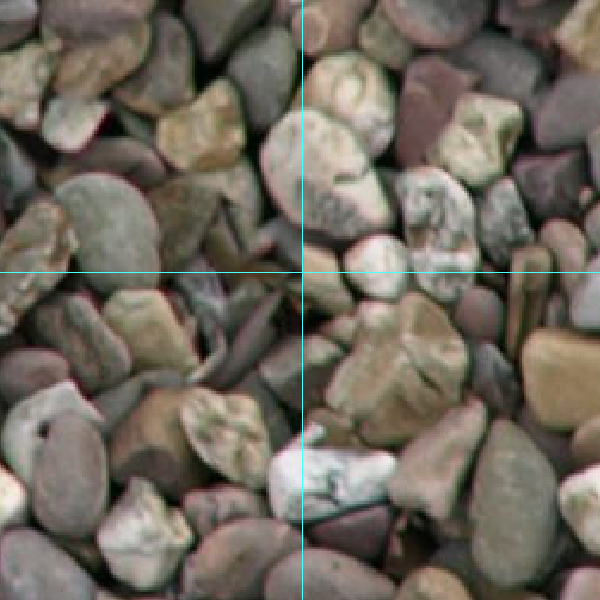
In addiditon the photographed structure should be uniform to avoid a pattern effect. If there are dominant areas like darker areas, shadows or dirt your rendering will not look very realistic at the end. In my example I decided to creat a texture of a pebbles ground.

Step 2: Select a suitable area of the pebbles structur
To decide if we want to use the complete photo for your texture or just a smaller area we quickly check how the texture will look like if we use it as a tile. Then we can estimate which area is suitable for a uniform texture to avoid a pattern effect.
In Photoshop CS4 we can use therefore 3D/New Tiled Painting.
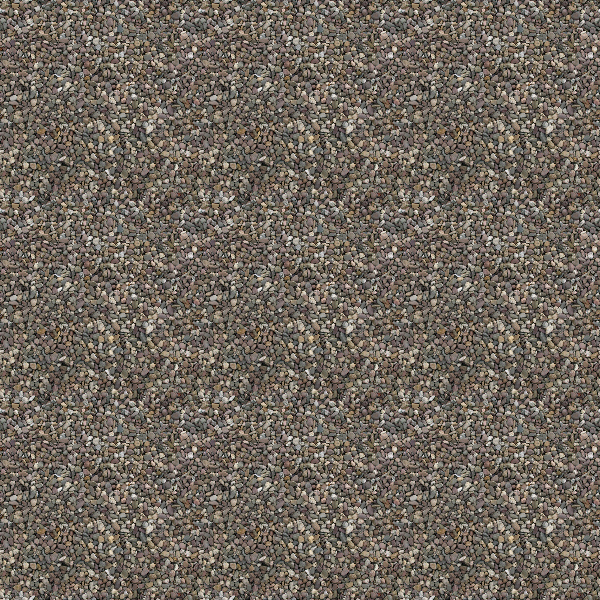
If you use an older version of Photoshop you just can copy your texture in a larger file and arrange some copies of your photo and use it manually as a tile. Now you can see with at least only 9 tiles a pattern effect due to the darker edges. But in the center of the image the texture seems to be not that irregular.
But note: The effect do not base on the fact that we did not already make the texture seamlessly tileable – it is based on the darker areas in the photo.
Therefore we choose an area in the middle and do not use the complete photo. I select the Rectangular Marquee tool (M) and select a rectangle (Press SHIFT while selecting) that looks nearly like this. Make sure that you use an even number for your selection.
By activating the Quick Mask Mode (Q) you can highlight the current selection. Next I keep my selection by dragging some guidelines from the rulers (press Cmd+R if the rulers are not visible).
Step 3: Creating a seamlessly tileable pebble texture
Because we only choose a smaller part of the original photo we can now use the bordering areas of our selection to copy them to the other side to make the texture tileable. Therefore I select on the left a vertical area directly next to our texute selection, copy it to a new layer (Cmd+J) and move it to the right limit of our texture area.
To make the selection visible I created a new white filled layer with reduced opacity and placed it between the background and the new created layer.
Now the texture is seamless from left edge to the right edge. But we still have the same problem, but now the break is located in the center of the image. But that makes it easier for us to merge the new layer with the background by using the Eraser tool (E).
So select the Eraser tool with a brush size of 30px and a reduced hardness. If you use a pen tablet or have a steady hand to move the mouse you can also use the Lasso tool (L) and smooth the selection afterwards with (Cmd+ALT+D)
So start erasing directly in the corner of the new texture and then slowly move to the left. This is imporant to reduce the work at the end. In addition make sure that you only erase complete pebbles and avoid to cut them in the middle, to keep the realistic look. It is not very difficult to get a quick and good looking result.
The new layer looks nearly like this:

Now we use the same approach to make the texture seamlessly tileable in vertical direction. Select a area upon the texture selection, copy it to a new layer and move the new layer to the bottom of the new texture.

Now your texture looks like this:
Step 4: Finetuning
The result already looks very good therefore reduce all visible layer to one layer (Cmd+Shift+E), select the area we definied by guidelines and crop the selection. (Image/Crop)
Now check the pattern effect again by using 3D/New Tiled Painting
Compared to the first result now it looks more uniformly because we avoided using also the darker areas of the photo. Now we go into the last details.
Therefore undo the last action of tiling the texture to go back to the original sized image. Because we used the neighboured parts of the texture to make them seamlessly tileable we only have to concentrate on the corners. As I mentioned before we tried to erase the copied layers as close to the corners possible. But there will be still a problem if the texture will be tiled. To see the effect, go to Filter/Other/Offset. Because our image is 1600 px x 1600 px enter for Horizontal 800 px and for vertical 800 px as well.
What happend? Photoshop splitted the image into four evenly dimensioned parts and moved them diagonaly in the opposite corner. In consequence the corners of the image now are moved to the center.
For better orientation I drag a vertical and horizontal guideline and snap them to the center of the image. Now we can check alont the guideline (the older edge of our texture) if the texture is seamlessly tileable. You will see that there is a small artefact directly in the center of the image.
Activate the Stamp Tool (S) and select an area to be copied by pressing ALT. Now use a smooth brush to edit the center point. Next I put some work on some too dark pebbles which are too dominant im my final image.
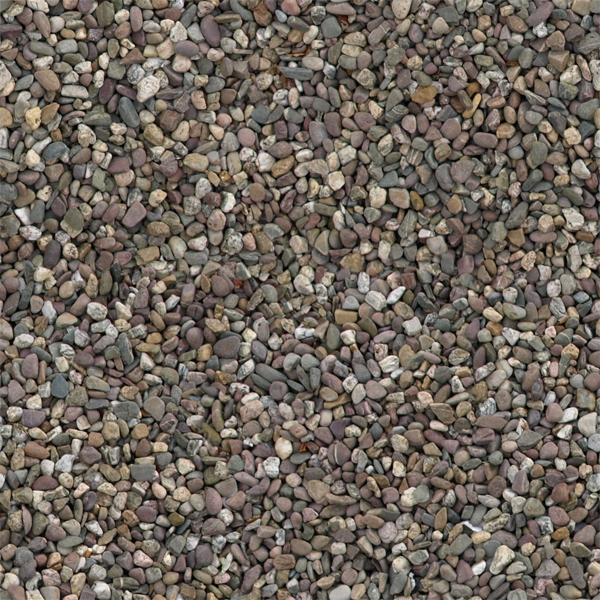
You can download the seamlessly tileable pebbles texture here and may use it for your private AND commercial projects, but note that shareing is not allowed. If you like it please recommend this tutorial to your friends or link to us.
If you like this high resolution texture you may interested to take a look at out “GroundCollection” with 111 high resolution ground textures.
If you have any hints, tipps or comments, just drop me a line.





its really helpful.thank you
thankyou!!!!
Really useful and informative tutorial. I’ve never seen it done that way, but I can see how it would work really well….I’m off to give it a go. Thanks