Image based interior HDRI lightning compared to alternative techniques
There are a variety of lighting techniques to use when creating an exterior light source for architectural interiors. Some artists like to use a standard direct light while others prefer a simulated sun and sky, such as the v-ray sun. While both of these methods are effective, I find that the lighting produced lacks the subtle imperfections and variations of reality. The most realistic lighting can be achieved by using image-based lighting.
What are HDRI images and how can they be used in 3DS MAX?
High Dynamic Range Images are ideal for this type of setup as they contain the data for multiple cameras exposures within one file. .HDR and .EXR are the most common high-dynamic range file formats. What makes these file types so versatile is the fact that they are 32-bit. Simply stated, if pixels are overexposed in the image, the exposure can be lowered and the blown out pixels will contain actual color data for the lower exposures. Pixels can also have values above 255 white, making it possible for bright pixels to have varying intensity. This allows for a great degree of control and realism when lighting your scene that simply cannot be achieved with a standard 8-bit image.
Most of the time you will find HDRI images that are 360° panoramic photo of the real location. For these images a bunch of photos pointing in all directions have been made from one location in reality and stitched together afterwards. There are different types of panoramic images – most of the time you will find spherical images.
Where to download free HDRI-Images?
There are many sources for great HDRI photography, however the images can be costly due to the great skill and expensive equipment required to create them. Fortunately, there are some excellent HDRI libraries that offer high quality images for free!
Let’s go over how to light a simple scene using an HDRI image.
How to light an interior architecture scene with an HDRI-image?
Please note that this is an intermediate-level tutorial, assuming that the reader knows the basics of modeling, materials, rendering, and navigating the 3DS Max interface.
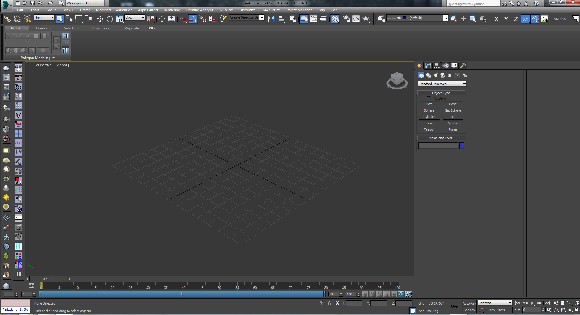
Load up 3DS Max. I am using Max 2014, V-ray 3, and have customized my UI a bit. Your setup may look slightly different but the process will be exactly the same.
The basic idea is that we want to create in our 3D environment a light source which generates the lightning information based on a texture image. Usually you can define the brightness or color of the light in a dialog, but in this case this information should be derived from an HDRI image that contains these information.
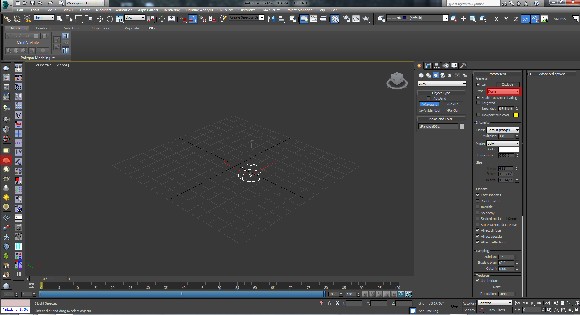
Add a v-ray dome light to your scene. You can do this through [Create, Lights, VRay, VRayLight]. Set the type to Dome. Alternatively, if you are using V-ray 3 you can simply click the Dome light button.
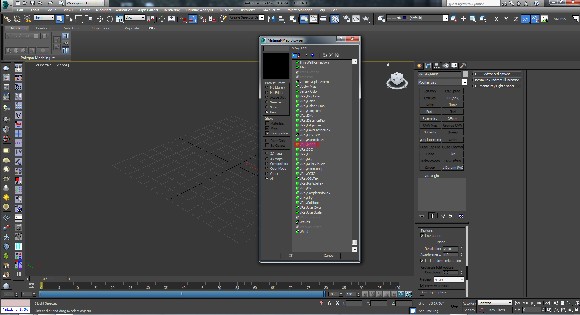
With the dome light selected, go to the modify tab. In the texture section check the [use texture] box and click on the [none] button.
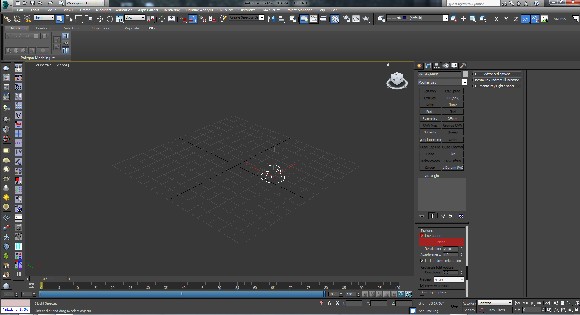
Choose the VRayHDRI map type.
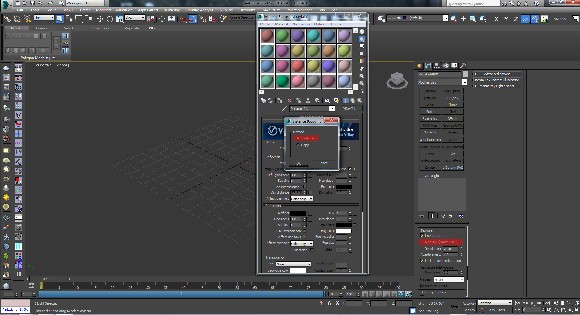
Open the Material Browser (hotkey: m). Drag and drop the VRayHDRI from the texture button to an empty material slot. Choose Instance when prompted. This will allow for direct control of the map associated with the dome light.
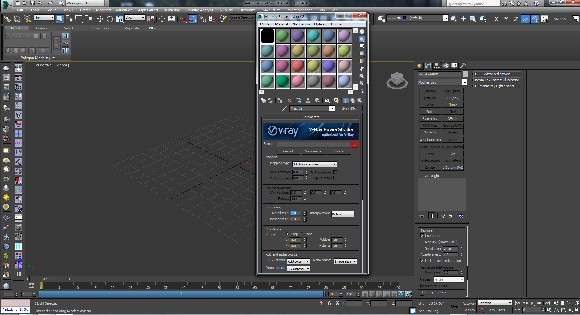
Click the […] button to browse to the desired HDRI image on your hard drive.
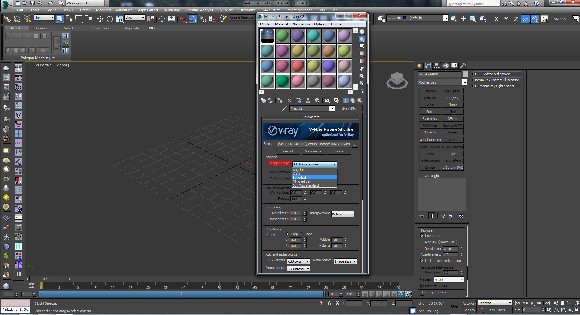
Under the mapping type rollout choose the correct mapping for your image. Most HDRI environment images will use spherical mapping.
Using the HDRI image also as background image
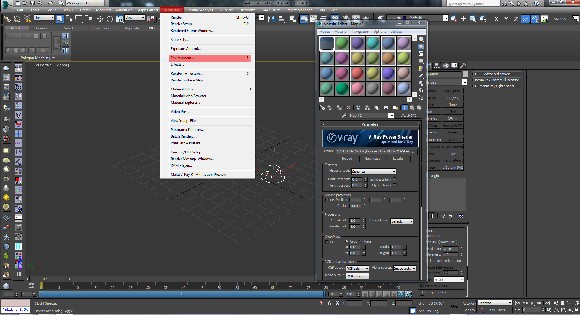
From the [Rendering] menu select [Environment]. You can also just press the hotkey [8].
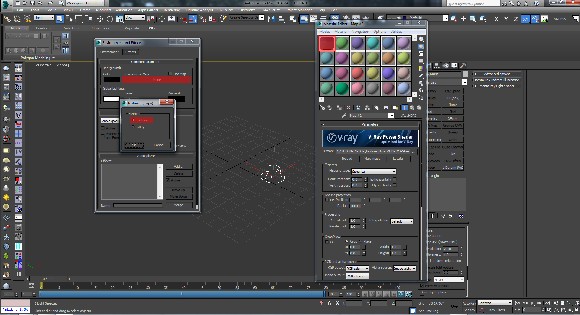
Drag and drop the map from the material browser slot to the Environment Map slot. Select Instance when prompted. We are now using the same map for our dome light and Environment map.
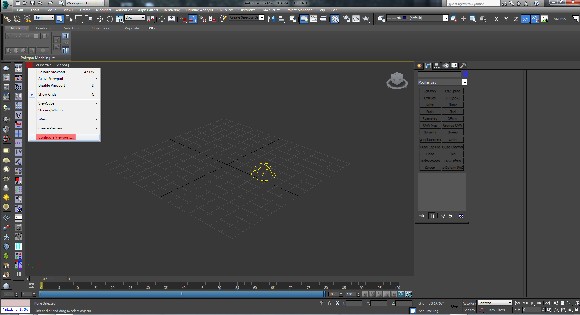
Click the [+] In the upper left hand corner of your perspective viewport. From the roll out choose [Configure Viewports].
Click the background tab and select the [Use Environment Background] radio button. Click ok.
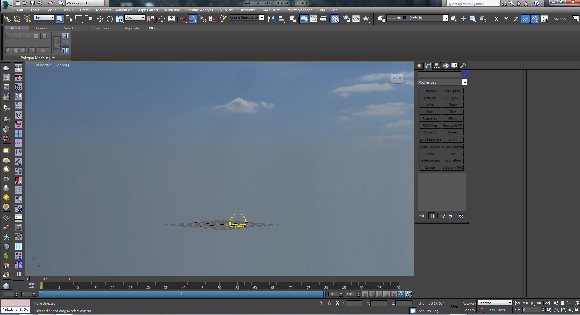
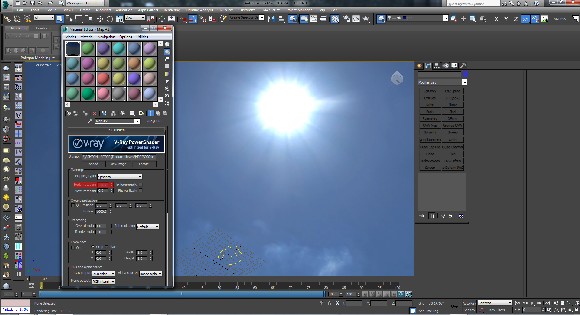
You will now be able to see the VRayHDRI image in your viewport.
Changing the [Horiz. rotation] parameter under the mapping settings of your VRayHDRI will rotate the image in your viewport background. This makes it very easy to place the sun exactly where you would like it in your scene.
Few tricks to speed up rendering times
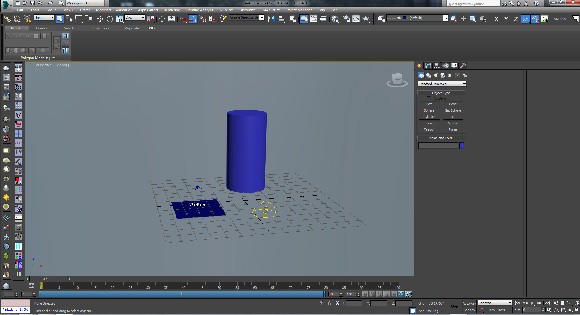
Now let’s add some simple geometry to the scene. I added a VRay plane and a cylinder for our lighting test.
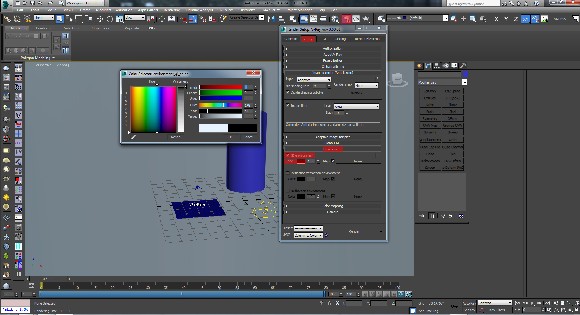
Before rendering some tests, we need to address an issue. As we have both a dome light and an environment map, the scene is going to be receiving the lighting from our HDRI image twice. This is not an ideal situation as it increases render times and makes our settings less precise. Under Render Setup go to the [V-Ray] tab click the [Environment] roll out. Check [GI environment], and change the color to black. This will override the 3ds Max environment so that we now only receive lighting from our HDRI dome light.
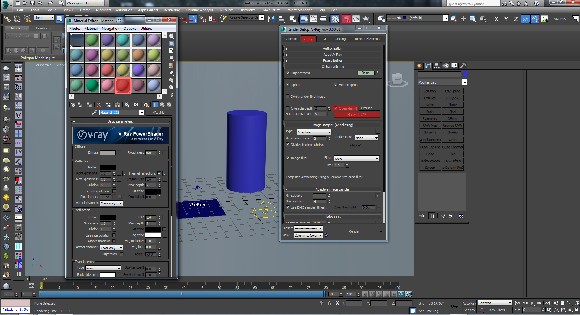
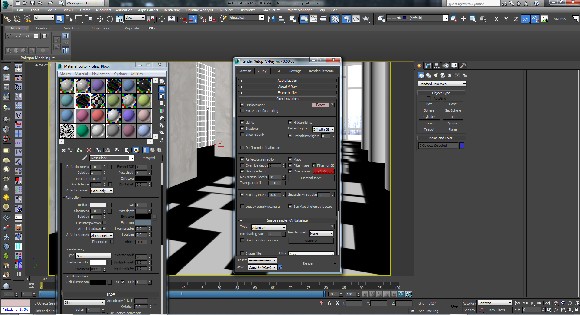
A good way to speed up render times while you are in the process of tweaking your lighting is to use a global override material. This will set all of your objects to the same material at render time with out effecting the materials in your actual scene. Under Render Setup go to the [V-Ray] tab click the [Global Switches] roll out, and check [Override mtl]. You can drag and drop any material from the material editor to the override slot. In this case I chose a fast rendering neutral gray.
VRay lightning settings with HDR image
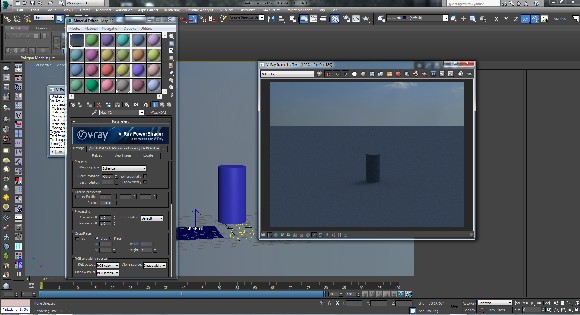
As this is a tutorial on lighting and not render settings we will just be sticking with the V-Ray defaults. Here is the result of our first test.
As you can see from the frame buffer, our HDR image is currently too dim and the shadows it produces are very soft. This is not the look we are trying to achieve. In the [Processing] section of the VrayHDRI map settings increase the [Render multi].
Using the [Render multi] setting as opposed to the [Overall multi] setting will increase the intensity of the HDR in our final render without displaying an overly bright and distracting image in the viewport.
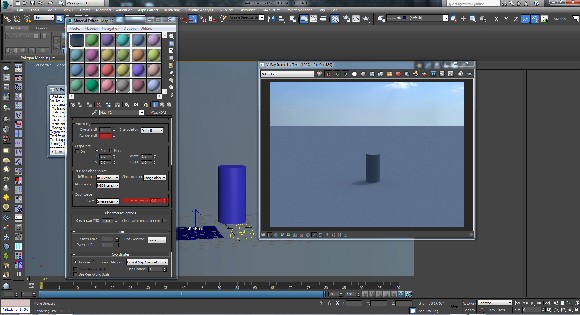
This next image has the [render multi] set to 3.0 and the [Inverse gamma] set to 0.9. Increasing the [render multi] adds light to the scene while decreasing the [Inverse gamma] increases the contrast. Higher contrast will result in harder shadows.
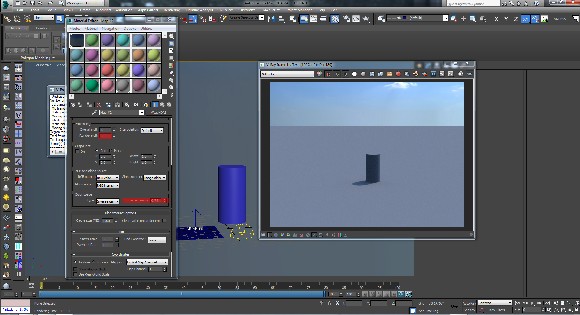
Here is an example of increased contrast. The [Render Multi] remains at 3.0 and the [Inverse gamma] is reduced to .75
Settings for lightning a simple architecture interior scene
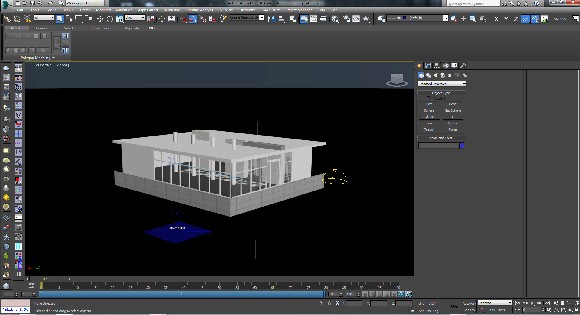
Let’s take a look at a more practical example. I have loaded up a scene with the exact same lighting set up, and a relatively simple architectural interior.
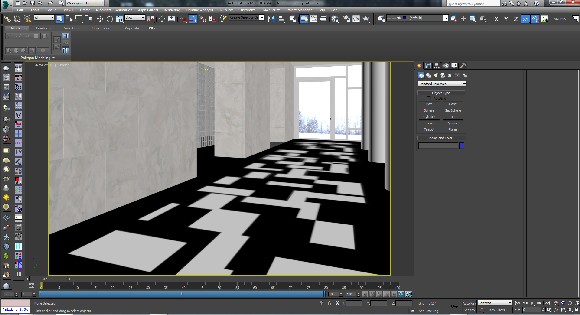
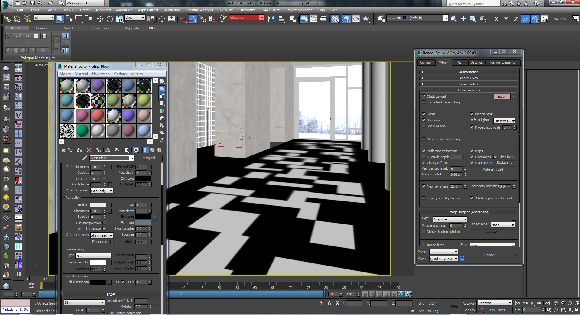
I switch the viewport to the camera we will be rendering.
This scene has final materials applied to all of the geometry. For fast preview renders we are going to want to use the global material override, just like in our simple scene.
There is one problem with the global material override when dealing with interiors. It will cause all of our widows and glass to use the override material. As a result they will no longer be refractive, and no exterior light will be able to enter the scene.
To resolve this we need to exclude all of our glass from the global override.
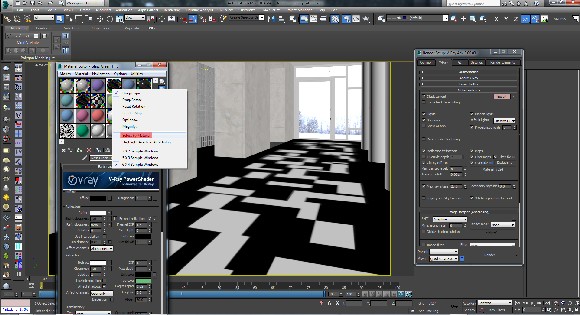
Open the material browser (hotkey: [m]) and find your glass material. If the material is not currently in your browser use the eyedropper button to sample from an object in your scene.
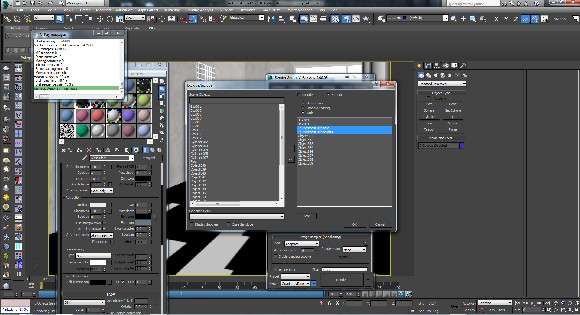
Right click on the material slot and choose [Select by material].
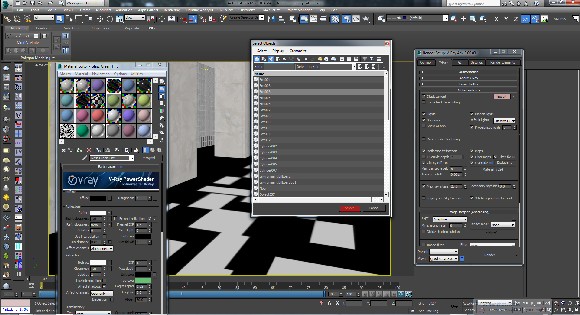
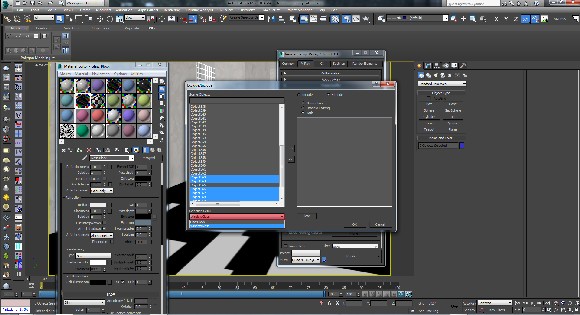
This will open the select objects dialog box with all objects that use the glass material highlighted. Click Select.
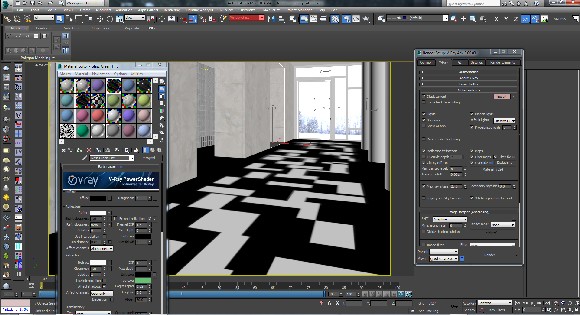
The objects will now be selected in the viewport. We will create a selection set, as this will allow us to easily add the objects to the global material override exclude list. With the objects still highlighted go to the selection set roll out, type “WindowGlass” and press [enter].
This scene also has a wall of glass block. Repeat the process for the glass block material and create another selection set.
Open up the render setup dialog and navigate to the material override section as we did in the simple scene. Click the [Exclude] button
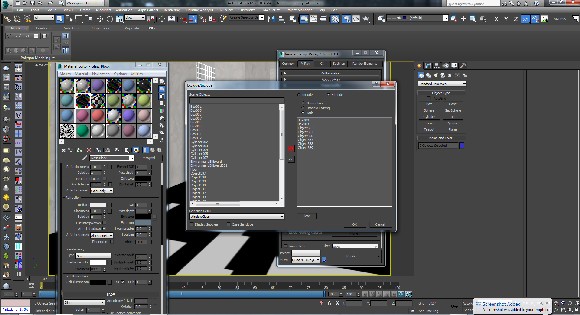
From the [Selection sets] roll out choose “WindowGlass”
Add the selection to the exclude list by pressing the [>>] button
Repeat this for the “GlassBlock” selection set.
I will also add the exterior environment planes that can be seen through the windows. This will allow us to see them in our preview renders and adjust the lighting to match accordingly.
Start rendering the hdri interior scene
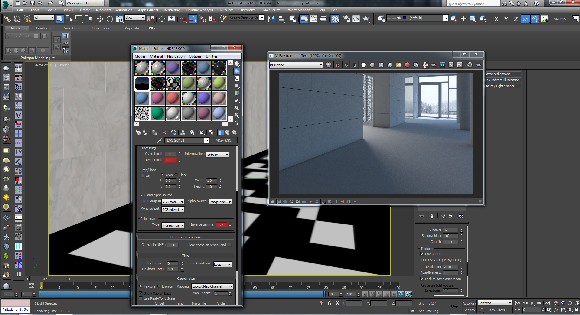
Now we can start our test renders! Set your output resolution low. We are working on broad exterior lighting right now and there is no need to waste time with high resolution previews.
I would like to note that when generating exterior lighting from an HDRI it is not necessary to place skylight portals in the windows of your scene. While this is absolutely needed when using a standard direct light or VraySun, it does not enhance the lighting quality with an HDRI. I have done many tests and found that including skyportals in a scene that is lit exclusively with an HDRI can increase render times by as much as 200% while adding no noticeable increase to the quality of lighting.
Tweak the [Render multi] for light intensity and the [Inverse gamma] for contrast and shadow hardness as we did in the simple scene.
Here are the VRayHDRI settings I was happy with for this scene. [Render multi.] at 8.0 and [Inverse gamma] at .75. This gives us interesting lighting with some defined shadows. Keep in mind that materials do have a large effect on global illumination. As most of the finishes in this scene are grays and whites, the final image will be brighter than our preview renders.
As a general rule I tend to keep my raw renders slightly darker. It is very easy to lighten the images in post production, and will result in fewer blown out pixels.
When you are happy with the lighting uncheck the global material override box and render your completed scene.
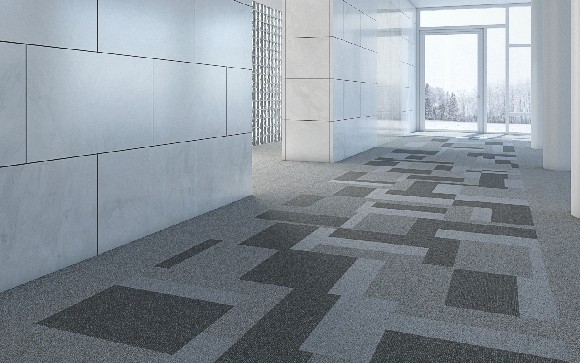
Here is a final render with some post production.
I hope with our interior hdri vray lightning tutorial you now have a better understanding of how to use HDRI’s and image-based lighting. As you can see the process is not that complex and has the ability to yield beautiful results for your next architecture renderings!

I would just like to say thank you so much for this! It has made a world of difference to my technical abilities although I had knowledge on the topic from before I was still unsure of some aspects of hdri lighting like using sky portals with it but now have been clarified and the tutorial was clearly written in the easiest way to understand! 🙂
Many thanks! I was stuck with HDRI lighting. Now I’m free.
Man you’ve just saved my head from blowing of those HDRI map lightings! This is most accurate and informative tutorial I’ve ever seen. Huge thanks!
You are awesom thanks for the best making of
thanks mate , that’s fantastic . you are very generous to share your knowledge with every body . may god help you through every thing.
Many many thanks for this tutorial and for your effort in helping us!
This is great tutorial. can you share also the files you used in the tutorial?
Sorry, but I honestly do not have them at hand anymore… Hope you get value out of the tutorial anyhow…