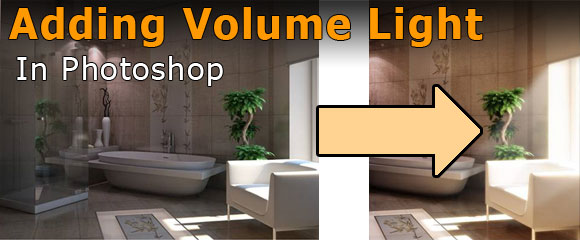
In this tutorial I want to touch on a typical task that needs to be mastered when it comes to post processing of an architectural interior scenery with Photoshop. Often times it is faster to change and optimize some lightning effects in Photoshop and not in the rendering tool (like 3DS MAX, Cinema 4D or Rhino..) itself as the rendering process can take quite a bit of time. From my experience the best approach is to start with some proper settings for lightning the interior scenery but the experiment in Photoshop to polish the rendering finally.
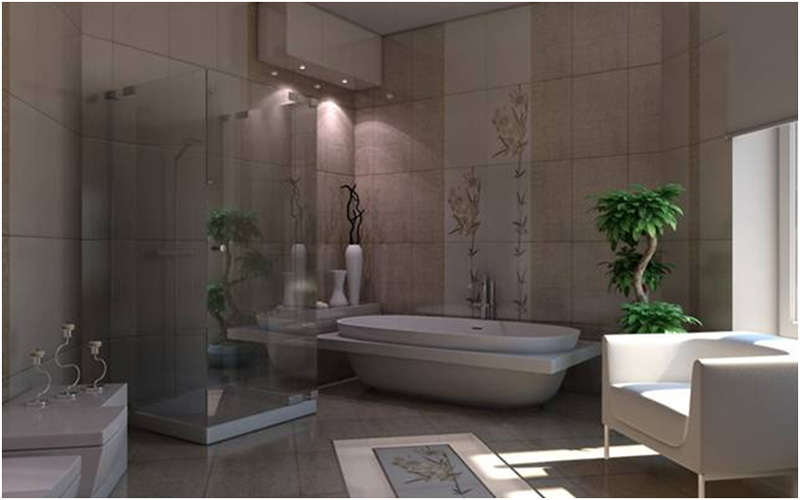
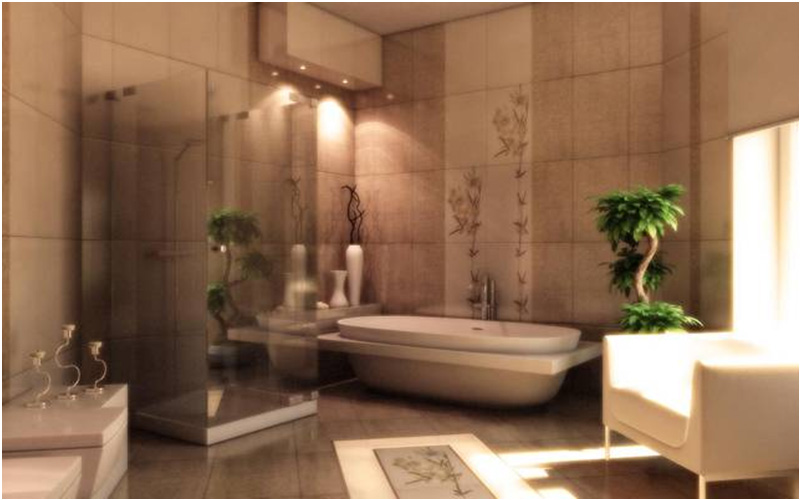
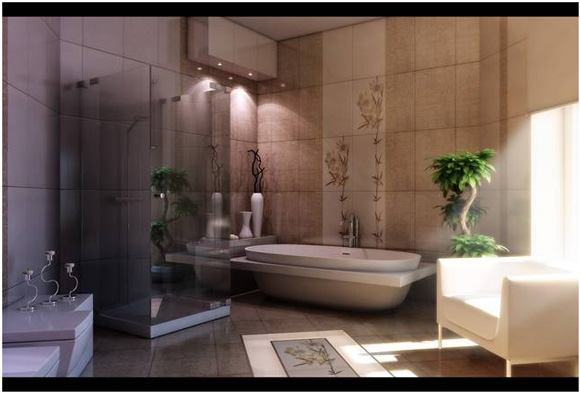
I use this rendering of a bathroom for this tutorial:
So let’s get started. First it is important to analyze the image and define the “cold” and “warm” areas. As the sunlight determines the atmosphere of our interior architecture scenery the warm light comes from the window – the cold areas are more in the left part of the image.
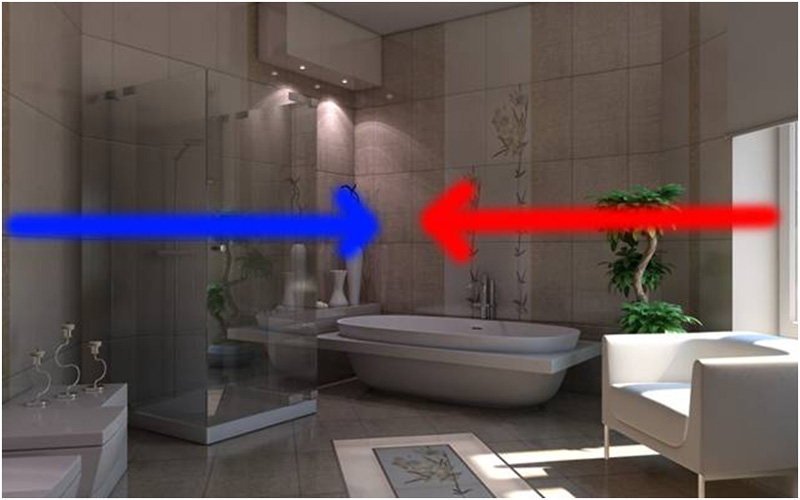
The arrows show the distribution of cold and warm areas. So what I did next is doing some general image corrections. First I modified the brightness and contrast by using the curves tool (STRG+M). Afterwards I worked on the color temperature of the image. Therefore I add a new fill layer by clicking the button in the bottom of the layer panel.
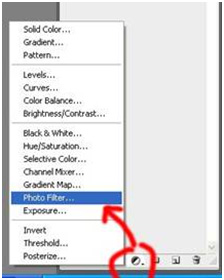
Here you can use e.g. a “Warming Filter” as the basic image was bit too “cold” from my point of view. You have to play around with these options a bit, but I can highly recommend this approach as it is very flexible and is one of my key tasks to optimize the overall image atmosphere.
To get this kind of blurry effect I followed these steps:
- Copy the layer
- Apply Gaussian Blur Filter
- Change the Layer Blending Mode from „Normal“ to „Soft light“
- Reduce the layer opacity of the copied layer a bit
After these basic steps my interior scenery looks like this:
OK – the blurring effect might be to drastic, but let me mention that you can also use this effect for example for exterior architectural visualizations. There you can soften a copy of your rendering and then use a layer mask to reduce this effect for the building itself so that only the surrounding gets this soft touch – it helps to set the focus to your architecture! Maybe you might test it next time…
Adding volume to the sunlight
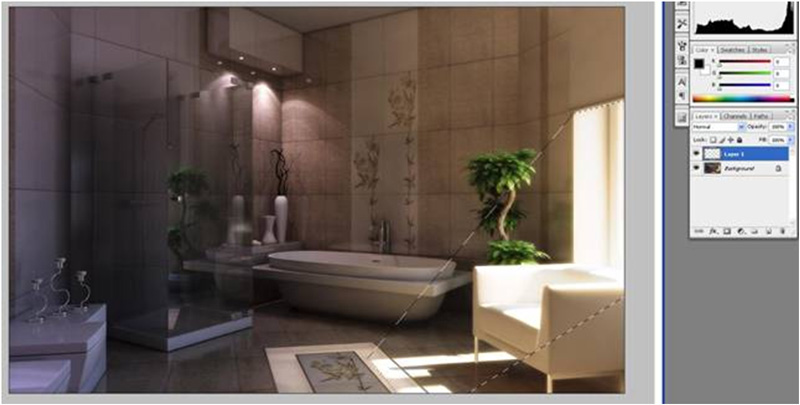
Create a new blank layer, make a selection using the polygonal lasso tool and, which would coincide with the sunlight like you can see in the next image:
Next we want to feather the selection by pressing Ctrl + Alt + D, in the window that opens we enter a value of e.g. 10 in my case – lower values will lead to a sharper selection and vice versa. Then press Enter. Press D, then Ctrl + Backspace to fill the selection with white. Then press Ctrl + D to deselect and it will look like this:
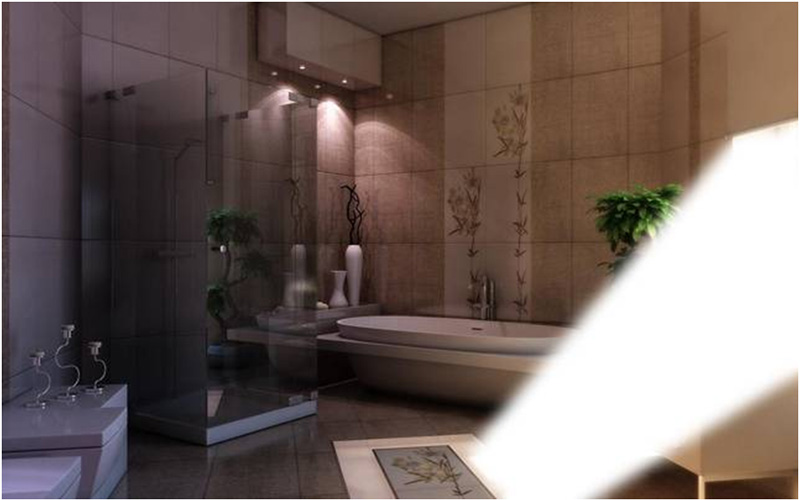
Add a mask to Layer 1, and fill it with the linear gradient shown below.

If a ray is too bright for you, you can reduce the Opacity option in the Layer 1.

Combine all layers into one.
Adjustment of brightness in Phothsop
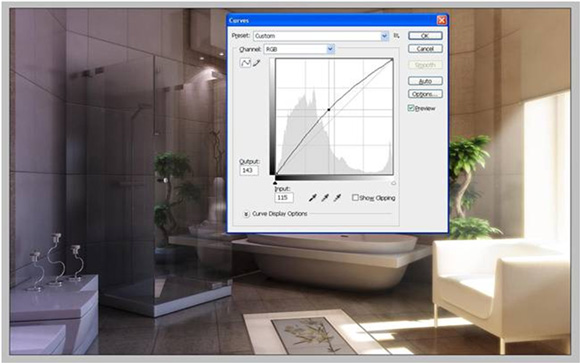
If the picture is too dark or light for you, it can be fixed again by pressing Ctrl + M (Curves)
In the opened Diagram, you can change the curve of picture’s brightness, “grabbing” the center line with a mouse and raise or lower the center (upwards – brighter, down – darker)
Finally I have added again my black stripes – I know it is a matter of taste…
Before:

… and after:
OK the cold blue effect is maybe bit to dominant there, but I think you get the point here…
As you can see you can have a lot of options to control the atmosphere in the final image… And especially these atmospherical effects can lead to really long rendering time. That is why I like to use Photoshop here as you have full control by simply changing the layer opacity for example to play with these effects. Compare this to rendering the scene over and over again in a 3d tool?!
I hope I could deliver some insights in my workflow that might be interesting for you.


Great post! Thank you it will definitely help me with my projects. Awesome blog by the way! I’m adding it to my resource page!
Thank you very much!
Very good tutorial.
Matilda
Muchas gracias. ?Como puedo iniciar sesion?